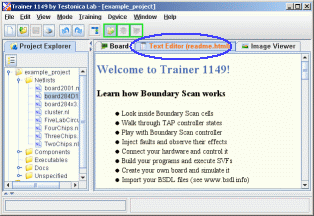
This help is located in Text Editor tab panel.
It can always be seen by clicking on this tab panel:

To change the working mode select appropriate
item in the Mode menu. Another way is two
use special toolbar buttons:

Your should start your work with Project Mode
to choose the netlist first.
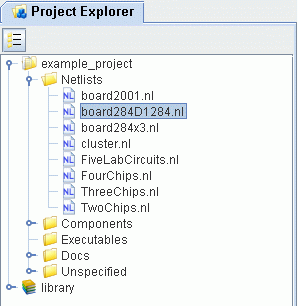
Netlists are stored in files with .NL extension.
To open netlist - just double click on it. Shortly after,
the Boundary Scan part of the board become visualized in the
Board panel.
If the description of internal logic is present in the board descirption the full simulation become available.
The colors of signal lines will represent a current values of signals.
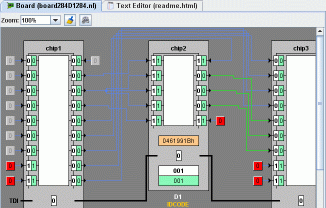
You can also click on input pins to change the input
values.
Test Constructor panel will appear in the left:
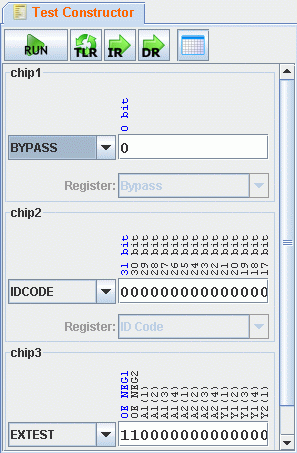
Here you can specify instructions for each
of BS chips and shifting values (test patterns).
After that, press the Run button to
perform scan (you can also perform Scan IR and
Scan DR operations separately by pressing
corresponding buttons).
Also you can select instructions and input scan values
directly on the board by mouse clicks:
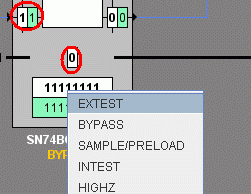
The results of scans are displayed in the Diagnostic
Results panel in the bottom:

Go to Window->Tap state diagram menu
(or press appropriate button in the toolbar).
TAP state diagram become visible.
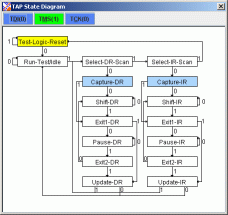
Click TDI and TMS buttons to change
input signals. After TCK button is pressed
the clock cycle will be generated and controller
might change its state. Pressing TCK button
while Shift is holded down will generate clock edges.
You can speed-up your work with TAP controller by clicking on hightlighted states. In the last case the software will generate needed sequence of TCK/TMS signals automatically.
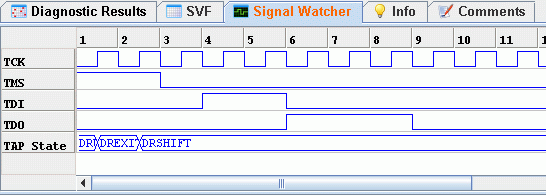
You can see how signals and TAP state changes
in the Signal Watcher:
After that you can try to identify fault by using means of Bounary Scan. To check your guess, use Training->Check Fault menu item.
To remove the injected fault from the board use
Training->Remove Injected Fault menu item.
You can ask for additional information at http://www.testonica.com.